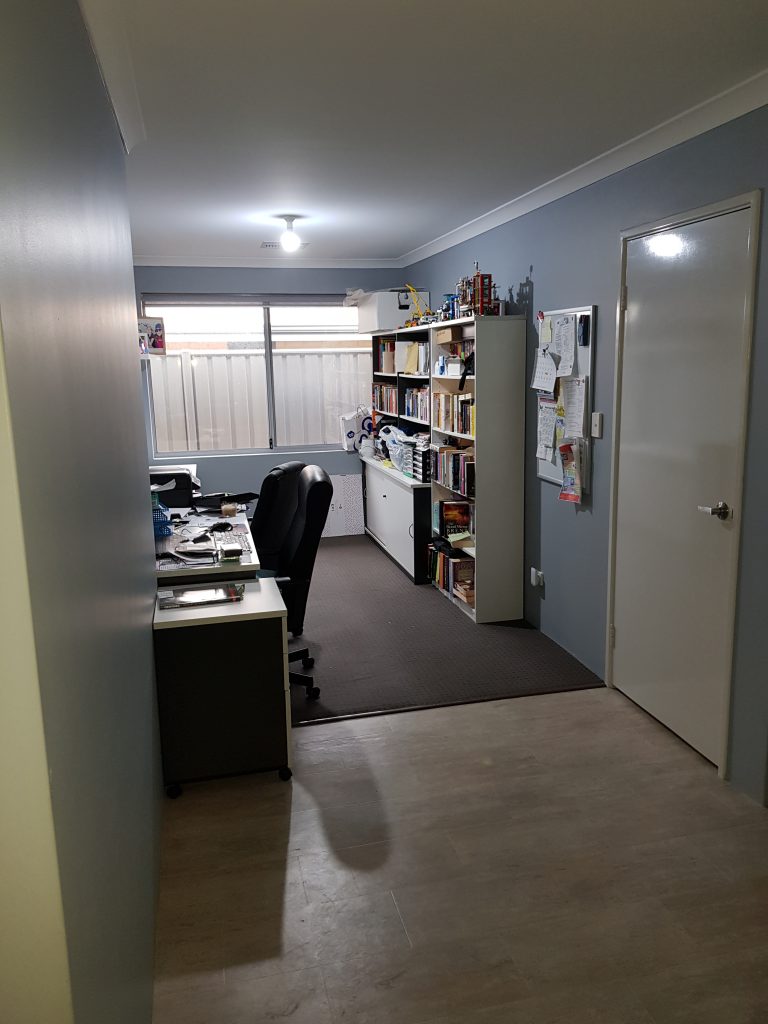
Open plan living is great when it comes to family time, interaction with guests or making small spaces seem larger. But what do you do when you have an open plan area that you wish to close off to create a separate space?
As a business owner, i spend many hours in my home office each week researching, writing quotes, invoices and keeping track of the business and so i need a quiet space away from my family (3 children and my wife). I have an open plan study and because of this i could not separate my work/home life or my parental responsibilities. My children could be heard crying, fighting or screaming in every phone call and I found this extremely distracting. I needed to close off the study and give me a proper working environment.
I had been looking at cheap alternatives such as office partitioning, due to the work involved in building a wall, but decided it wasn’t good enough. I first rang a company to ask how much and was quoted $2500 without paint They would frame and clad the wall, fit cornices and flush the joins. I wanted to fix this problem for months before i finally had enough and decided to do it for myself. I had the tools, the basic know-how and some time, so I decided that I would give it a go.

I did a bit of research through my home builders manuals and worked out the materials I required before visiting my local bunnings. I was going to use 90mm x 45mm timber for the frame, so I measured up the frame dimensions allowing for cross beams and noggings. I wanted to shut the area off and because there was limited space for a swing opening door, I decided that I would install a cavity sliding door. I also bought a solid door plus insulation to block sounds and create a quiet working environment.

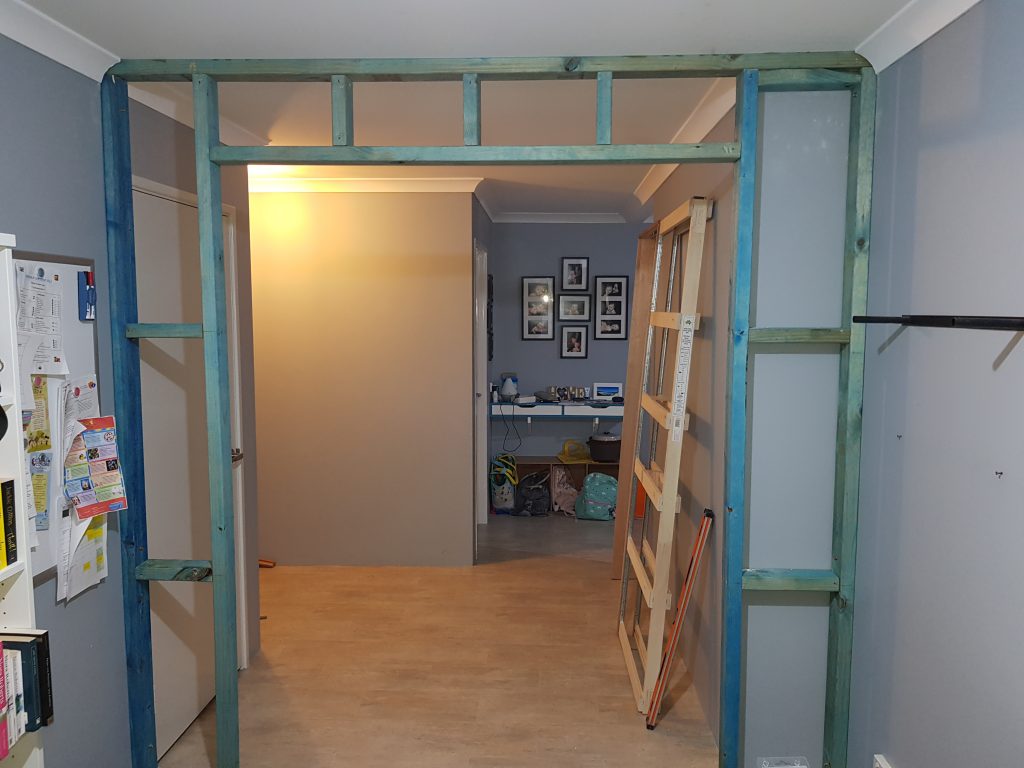
The first job was to measure and cut my top and bottom plates. These would be the guide for the rest of my frame. I had existing cornices and so I needed to cut them wide enough for the frame plus the 10mm cladding either side with a little room to play. I marked my bottom plate and secured it to the concrete floor by drilling and bolting down (many different ways to do this). Once i had the floor plate secured i could mark up to wall using a level and get the position of my top plate. I needed to find the joists in the ceiling and luckily they ran opposite to my frame allowing me to attach at 600mm centers. I used a stud finder to mark my joist positions and nailed the top plate in place.

Now the side studs could be measured and fit. It is a good idea to cut them to fit tightly, so they stay in place when nailed and also attached to the walls for support. You should work out the distances to suit the cladding sheet sizes but because my wall is not large, this was not an issue. Sheeting comes in 2400mm x 1200mm sizes as standard and so it is a good idea to fit the studs with spacing so that sheet joins meet in the middle of the studs to allow for screws. Studs are generally 400-600mm apart. Each stud should be horizontally braced by pieces of timber called noggings. One nogging may be used for heights upto 2.5m and two or more when higher than 2.5m. I chose to use 2 for rigidity, but that is personal preference. Once I had my noggings, I needed a top brace to go above my door frame, bearing in mind that the cavity door frame may not be square and to allow 10-30mm all around to pack out. The top brace was fitted with some small studs for strength.

The cavity door frame could now be attached by positioning, leveling and clamping in place before nailing or screwing to the stud frame. I started at the bottom and checked for level and plumbness, fit small packers between the cavity door frame and studs, before screwing together the frames. the door jamb was not good quality and slightly twisted, making it difficult to get perfect (I used Hume Doors product from bunnings, but have heard good feedback about Corinthian Doors product). Now that i had the frame in place i could fit my door. The cavity door frame comes with lots of fittings and screws, but the instructions didn’t clarify which were which and most had an odd amount of screws (I used my own). I marked out the door hangers and fit them, before attaching to the frame and checking the measurements. I was lucky that I didn’t require cutting the door down. Now I could prime and paint my door.

Now the cladding could be installed. I chose 10mm gyprock sheets and used beading on the edges to get a nice edge. The sheets could easily meet in the middle using only two sheets per side with some earthwool 2.5 batts in between for insulation. I plastered and used paper tape to fill the gaps. The cornice could now be fit once i mitered (cut at 45 degree roughly) the edges to match the existing cornices, I stuck them to the wall using cornice cement and patched the joins. When the plaster had dryed i gave a light sanding to all joins in the wall, edges and cornices before using a top coat to finish. This step would require an overnight wait before dry and so I had plenty of time to finish painting my door.

The next day I could sand down all the joins lightly and prime my walls. I chose to prime with two coats before painting with two coats, because I like making extra work for myself. After the paint was dry, all that was required was to fit architraving around each side of the doorway. I used double half round architraves and primed and painted them also. This project took me roughly three days whilst also working and performing normal parental duties (hence all the night time pictures).


The materials for this job cost me less than $700 and offered me some great experience doing something completely new. I saved over $1800 and when people comment on it they say that it looks like it had always been there. Why not give it a go for yourself.
Related Tags: Furniture Assembly Perth


